Apple Wallet does more than Apple Pay. Apple says the Wallet app can keep eligible boarding passes, event tickets, loyalty cards, keys, IDs, and more in one place on your iPhone.
If you have never really explored Apple Wallet, this guide walks you through what it does, what it can hold, and how to start using it today.
What Is Apple Wallet?
Apple Wallet is the built-in wallet app on iPhone. Think of it as a digital version of your physical wallet. Instead of carrying plastic cards, paper tickets, and printed boarding passes, you keep digital versions of eligible items in one secure app.
Apple introduced the app in 2012 under the name Passbook and renamed it to Wallet with iOS 9. It has since expanded from a simple pass holder into a hub for payments, identity documents, keys, and more.
Wallet vs. Apple Pay
What Can Apple Wallet Store?
Apple Wallet supports a wide variety of pass types. Here are the main categories:
Boarding passes and transit cards
Airline boarding passes, train tickets, and public transit cards from supported systems like Suica, PASMO, and others
Event tickets
Concert tickets, movie passes, sports tickets, and conference badges from providers like Ticketmaster and Eventbrite
Loyalty and store cards
Rewards cards, gift cards, coupons, and membership cards from participating retailers
Payment cards and keys
Credit and debit cards for Apple Pay, plus car keys, hotel room keys, and home keys from compatible providers
For a deeper look at every pass type, see everything you can store in Apple Wallet.
How to Add Passes to Apple Wallet
There are several ways to get passes into your Wallet. The method depends on where your pass comes from.
From Apps and Websites
Look for the button
Tap to add
Find it in Wallet
Other Ways to Add Passes
Email attachments
Tap a .pkpass file attached to an email or open a Wallet-compatible link in a confirmation email
Websites and QR codes
Some websites display a QR code or direct link that adds a pass to your Wallet when you tap or scan it
Camera scanning
Point your iPhone camera at a supported QR code and tap the notification to add it directly to Wallet
AirDrop
Receive a pass from another iPhone user via AirDrop. Hold your devices close together and accept the transfer
Adding Cards Without Native Wallet Support
Some loyalty programs, gym memberships, and other cards do not include an Add to Apple Wallet button. If the card has a supported barcode, NeatPass can help you turn that barcode into a Wallet pass.
NeatPass lets you convert supported barcode formats into an Apple Wallet pass. Scan or photograph the barcode, and NeatPass creates a pass that preserves the barcode data for Wallet-compatible use.
Scan your card
Customize the pass
Add to Wallet
NeatPass supports the barcode formats listed in the supported barcodes, or follow the create your first pass guide.
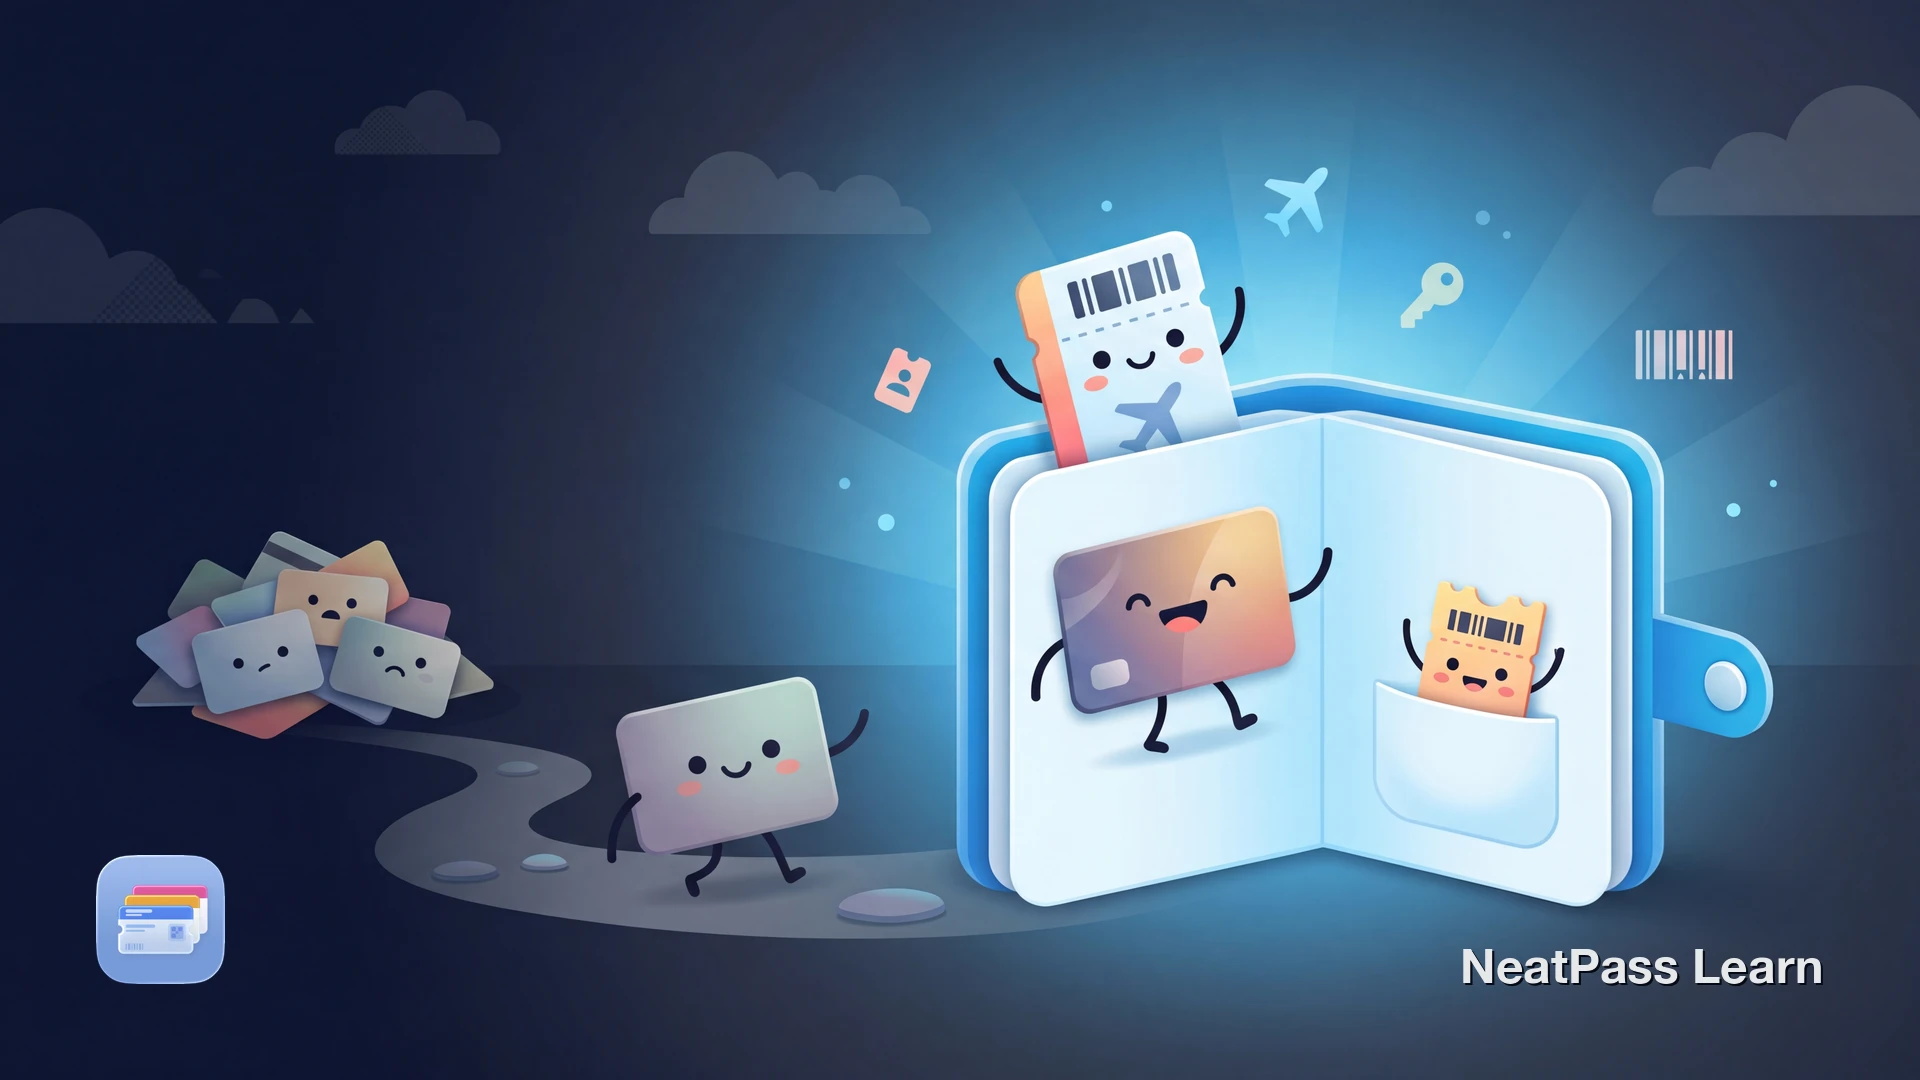
Get your cards into Apple Wallet
NeatPass makes it easy to convert any ticket, pass, or loyalty card to Apple Wallet.
Tips for Getting Started
Once you have a few passes in Apple Wallet, these tips will help you get the most out of the app.
Review pass notifications
Supported passes can appear based on time or location, such as a boarding pass near the airport or a loyalty card at a store
Enable notifications
Apple Wallet can show your boarding pass when you arrive at the airport, or your loyalty card when you walk into a store
Try Express Transit
If you use a supported transit card, enable Express Mode to tap through gates without unlocking your iPhone or authenticating
Everything works offline
All passes in Apple Wallet are stored locally on your iPhone. No internet connection is needed to display a barcode at checkout
If you also use NeatPass, see how lock screen widgets can surface your passes .
Offline access
Frequently Asked Questions
Start using Apple Wallet today
DownloadYour Wallet, Simplified
Apple Wallet replaces a surprising amount of what you carry in your physical wallet. Boarding passes, event tickets, loyalty cards, transit passes, and even keys and IDs can all live on your iPhone, accessible with a tap or a glance.
Start with a supported boarding pass or event ticket the next time you see an Add to Apple Wallet option. If a card only has a supported barcode, NeatPass can help you turn it into a Wallet pass.