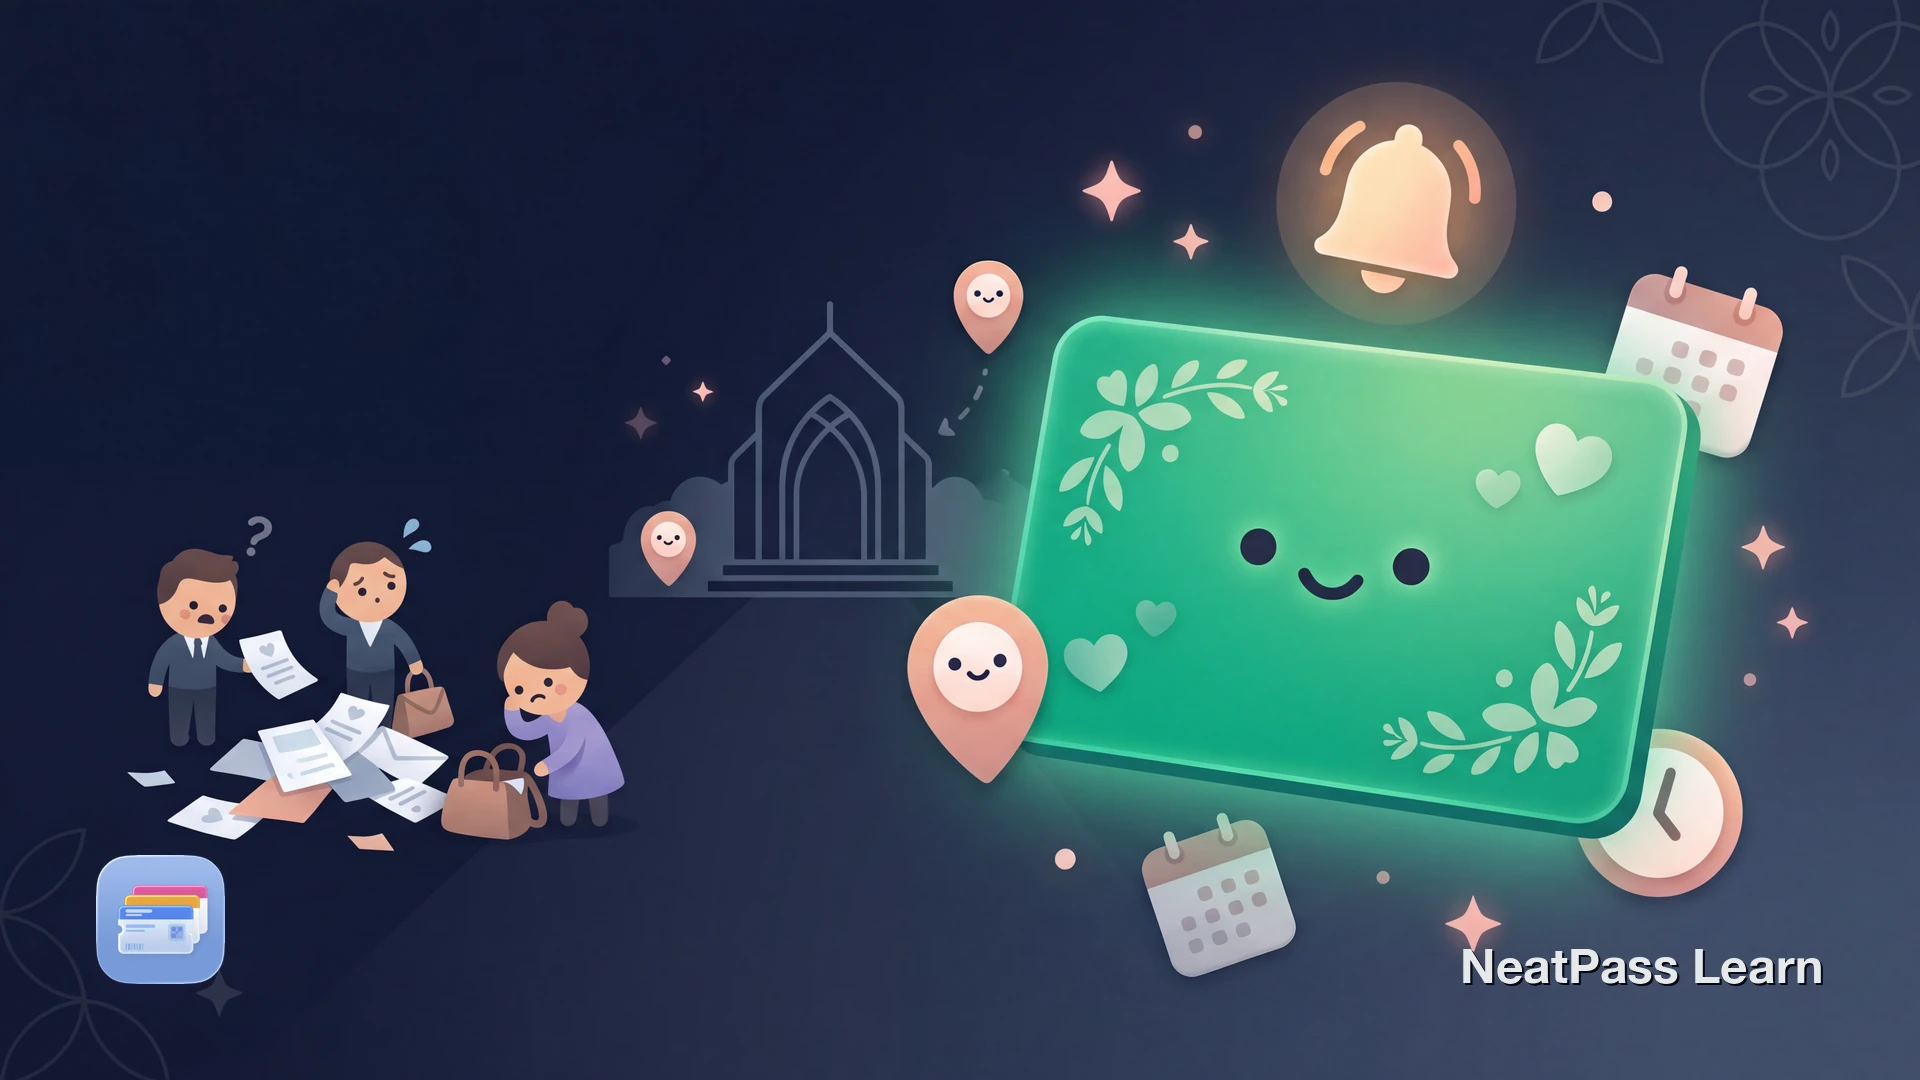
Wedding invitations are beautiful, but they are terrible at being useful on the day. The venue name, address, ceremony time, and reception details are buried in a PDF or a physical card somewhere. When you actually need them, you are scrolling through email or digging through a pile of papers.
An Apple Wallet pass puts all of that on your lock screen. Venue name, date, time, and directions - visible with a glance. Even better, Apple Wallet supports location alerts: the pass appears automatically when you arrive near the venue.
The PDF Invitation Problem
Most wedding invitations arrive as PDFs in email or as physical cards. Both have the same problem when the day comes.
Buried in email
Finding the right PDF means searching through months of messages
No quick reference
Checking the time or address means opening a PDF viewer every time
No navigation help
The address is text you have to copy and paste into Maps
Easy to forget details
Was the ceremony at 3:00 or 3:30? Which building is the reception?
How Venue Location Alerts Work
Apple Wallet passes support location relevance. When you add a venue address to your pass, iOS monitors your proximity to that location. When your iPhone detects you are near the venue, the pass appears on your lock screen automatically.
This means your wedding pass surfaces right when you need it. Pull up to the venue, and there it is: the venue name, ceremony time, and any other details you added. No searching through apps, no opening PDFs.
Location alerts
Turn your wedding invitation into a Wallet pass
NeatPass makes it easy to convert any ticket, pass, or loyalty card to Apple Wallet.
For Guests: Add Your Invitation
If you received a wedding invitation as a PDF, you can convert it into a Wallet pass in a few steps.
Import the PDF invitation
Review extracted details
Add the venue location
Customize the design
Add to Apple Wallet
See all import methods for different ways to get your invitation into NeatPass. Once created, follow the guide on adding passes to Wallet.
For Couples: Create Passes for Your Guests
If you are the couple getting married, you can create a wedding pass and share it with your guests. Each guest gets venue details and location alerts on their own phone.
Create a new pass manually
Add the venue location
Design the pass
Share with guests
The guide on customizing pass design covers all the color and layout options available.
Multiple events, multiple passes
Why a Wallet Pass Works for Weddings
A Wallet pass is not just a digital version of the invitation. It adds practical features that paper and PDFs cannot match.
Lock screen venue alerts
The pass appears automatically when you arrive near the venue
Date and time at a glance
Ceremony time, reception time, and date visible without opening anything
Works without internet
Pass displays even in rural venues with poor cell coverage
Custom design options
Match the wedding colors and theme for a personal touch
Your pass works offline even in locations with no cell signal. Add it to your lock screen widgets for even faster access.
Beyond the Wedding Day
The same approach works for every event in the wedding season. Create separate passes with their own venues and times.
- Rehearsal dinner - Different venue, different time. Its own pass keeps things clear.
- Bridal shower - Guests get location alerts for the host's home or restaurant.
- Engagement party - Share the pass early so guests have the details ready.
- Bachelorette or bachelor party - Especially useful for destination events with unfamiliar venues.
All passes are created on-device. Your invitation details are never sent to a server. See the privacy FAQ for details.
Frequently Asked Questions
Get your wedding details into Apple Wallet
DownloadYour Invitation, Always Ready
Wedding days are busy enough without searching for venue addresses or checking ceremony times in your email. A Wallet pass keeps every detail one glance away, and location alerts make sure it surfaces right when you arrive.
NeatPass requires iOS 18.1 (iPhone 12 or newer recommended) and costs $4.99 as a one-time purchase. See the guide on supported barcode formats for more on what NeatPass can handle.