Pass Disabled. This pass is associated with a different Apple ID. Apple Wallet shows this when a ticket was first added under another account, and Ticketmaster adds "Contact Ticketmaster" to the same alert. The string still reads "Apple ID" even though the account is now branded Apple Account (formerly Apple ID) since iOS 18.
The cause is not Apple Wallet. It is how the ticket itself was issued. Here is what triggers the lock, how to fix it, and why passes added from your own files never run into it.
Why the Pass Is Disabled
The error is a property of the ticket, not the device. When a ticket is first added to Wallet, the issuing app binds it to one Apple Account, verified with Face ID, Touch ID, or a passcode. After that, the pass only enables on that account. A few situations surface this lock.
Issuer Account Binding
Apps like Ticketmaster, AXS, and TicketsWest tie each ticket to the one Apple Account it was first added under. Future tickets auto-bind to that same account.
Wrong or Changed Apple Account
Signing into a different Apple Account than the one that originally received the ticket leaves the pass bound to the original account, so it stays disabled.
Gifted Ticket Not Transferred
A ticket bought or received from someone else stays bound to their account until they use the issuer's official transfer, which re-issues it to the recipient.
Second-Hand or Reused Device
On an iPhone previously signed into another Apple Account, the pass remains tied to that earlier account through the issuer binding.
Outdated App or iOS
An old version of the issuer app or an iOS version too old for what the ticket requires can also surface the disabled state.
How to Fix It
Work through these in order. The first two resolve most cases where the right account is simply not signed in.
Sign into the correct Apple Account
Sign out and back in
Remove the disabled pass and re-add it
Have the sender transfer a gifted ticket
Contact the issuer or venue to unbind
You cannot rebind a ticket yourself
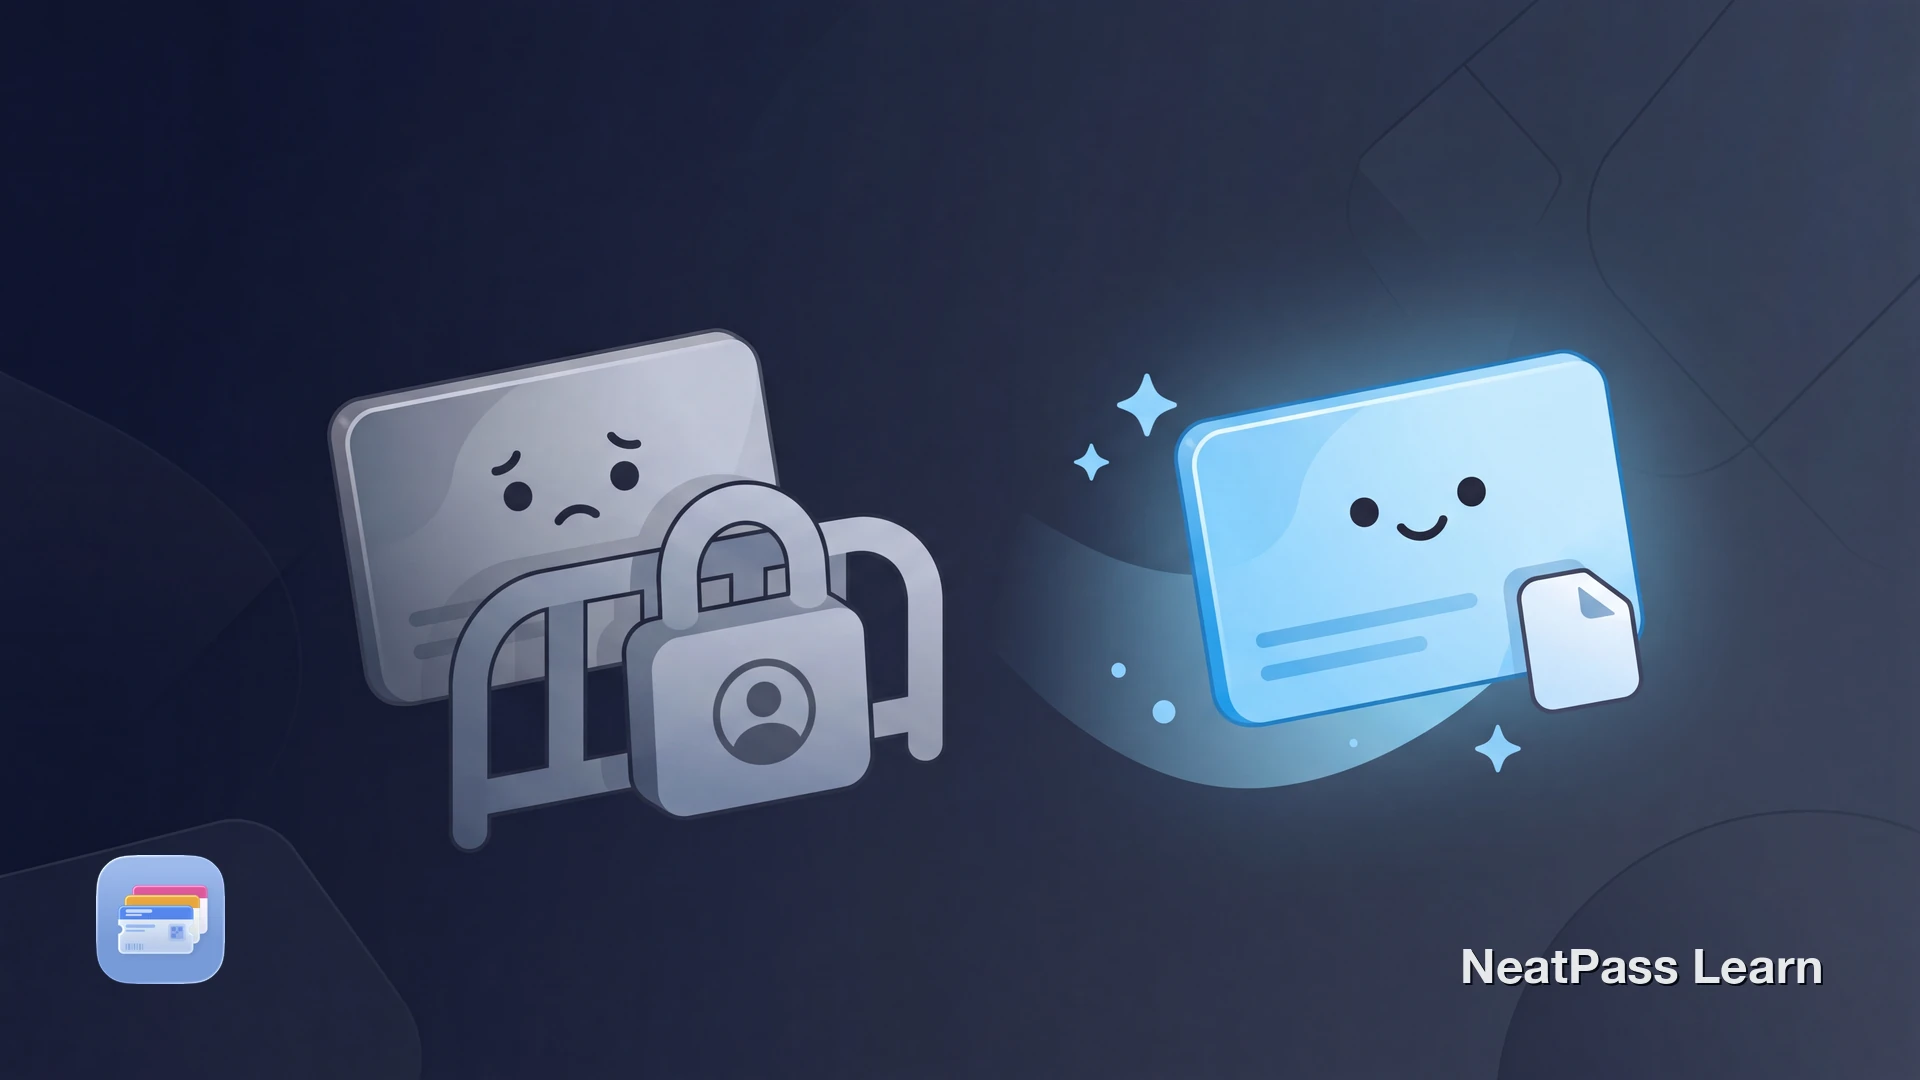
Passes that stay yours
NeatPass makes it easy to convert any ticket, pass, or loyalty card to Apple Wallet.
Why This Happens to Tickets but Not Files
The lock comes from issuer-controlled tickets. A pass you add from your own file behaves completely differently.
- Bound to one Apple Account on first add
- Cannot be rebound from Settings
- Need the issuer's transfer to move
- Disabled on any other account
- Not tied to any issuer account
- Re-add from a saved file anytime
- No venue or support contact needed
- Work the same on a new device
If the pass started as a PDF, an image, or a barcode you scanned, it carries no issuer binding. It can be removed and added again whenever needed.
How NeatPass Keeps Passes Unlocked
NeatPass adds passes to Wallet straight from your own files or scans, with no account and no login, so a pass is never tied to an issuer's account that could lock you out. It also keeps the original scanned document alongside the pass, so the source is always on hand. The ways to bring a pass in are covered in the import methods overview.
Any pass in Wallet still syncs under the iPhone's own Apple Account at the Wallet level, and adding a pass makes one brief connection to a signing server that only receives a cryptographic hash, never the ticket data. There are no accounts and no cloud uploads, as described in the privacy FAQ. Because a NeatPass pass is not bound to anyone else's account, it can be removed and re-added from a saved file anytime, and it still works in offline mode without chasing the right account.
FAQ
Add a pass with no account
DownloadA Pass That Stays Yours
The disabled-pass error is frustrating because the fix is rarely on the device. For issuer tickets, the resolution comes down to signing into the original account or asking the issuer to unbind. For passes you build from your own files, the lock never applies in the first place.
To build a pass from a barcode or document, see supported barcodes and adding to Wallet for the full flow.