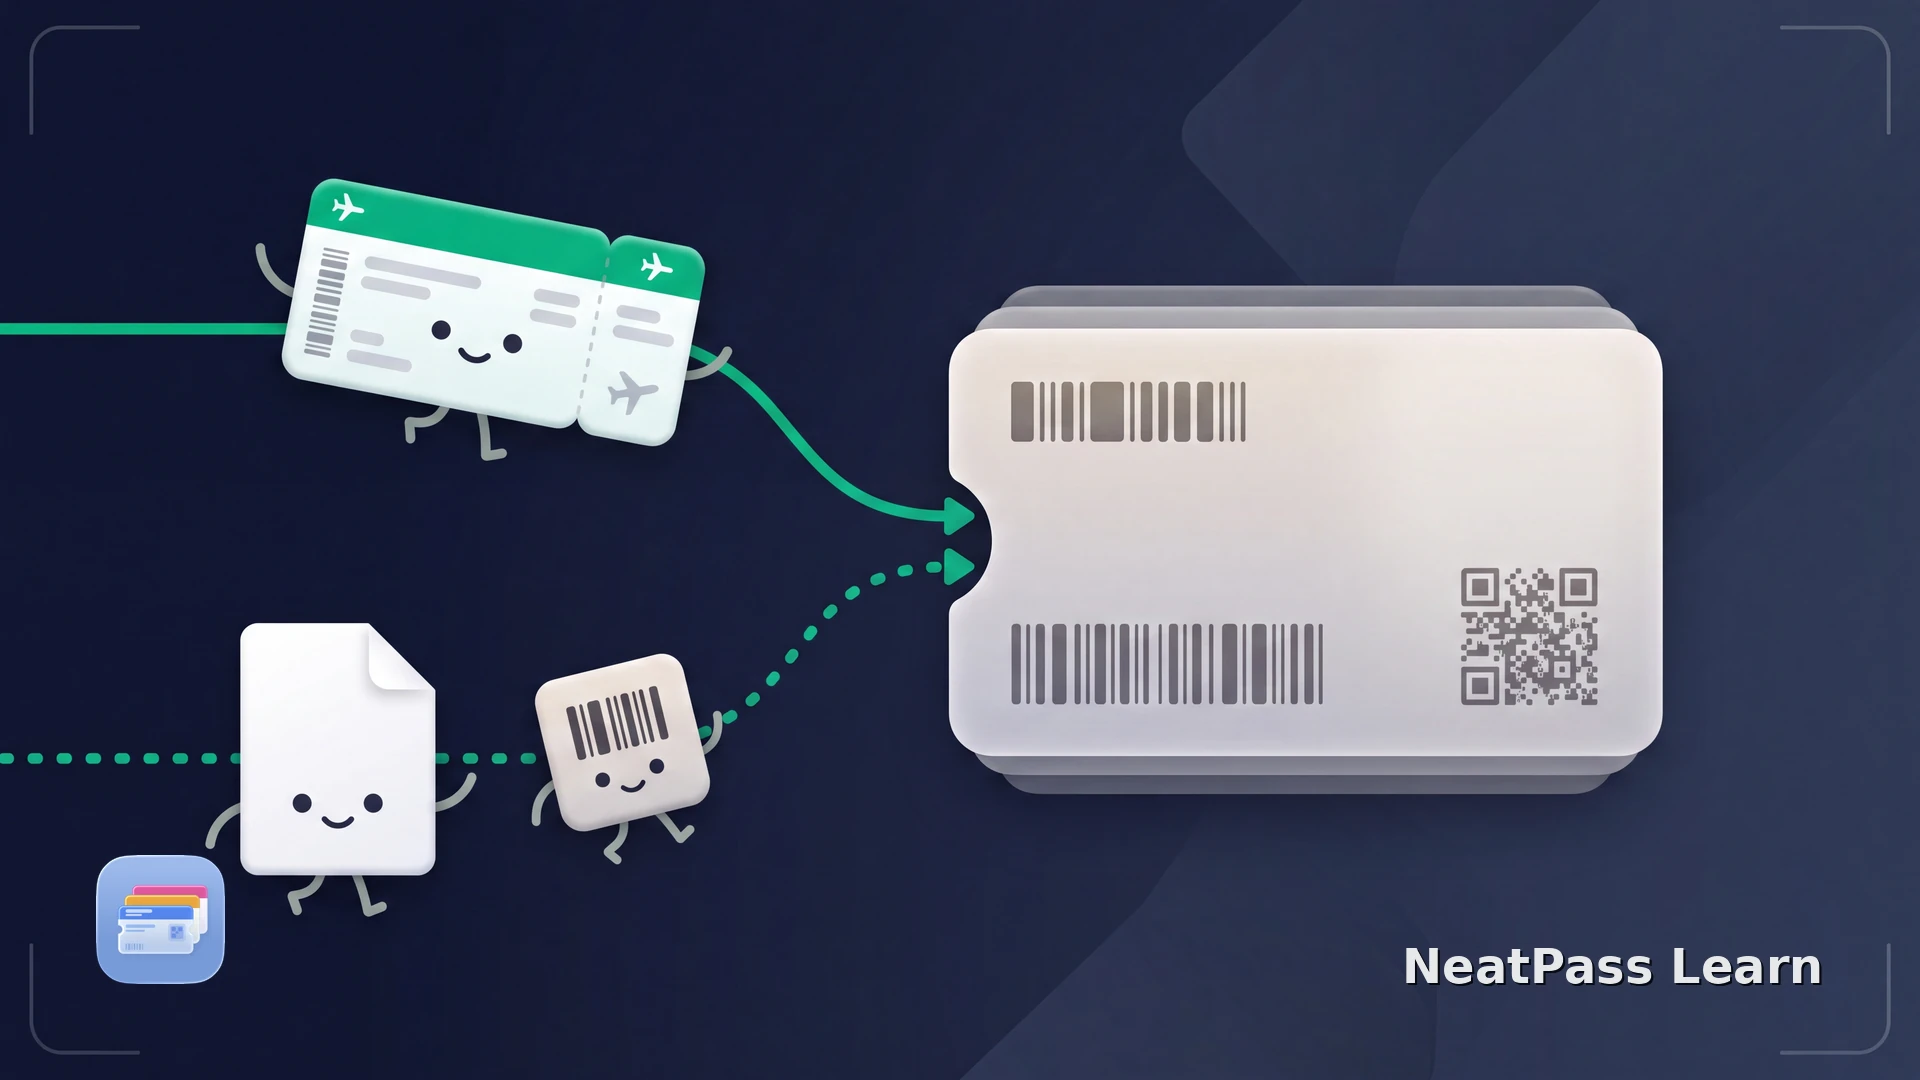
Saving a flight ticket to Apple Wallet is usually a question of which issuer created the ticket, not of the ticket's file type. Start with the airline or booking app, then use a local conversion only when the official Wallet path is missing.
That distinction helps you choose the right pass: a manually created pass is a convenience copy, while the airline remains the source for live changes. A booking confirmation is not the same as a boarding pass, so check in with the airline first when required. Here is a practical decision tree for the latest boarding pass, flight ticket, PDF, or ticket image.
This fallback is for a complete, supported static barcode. A booking confirmation without a scannable boarding-pass barcode, a rotating airline barcode, or a route or passenger case where the airline or airport requires document checks or a printed pass must stay with the airline's official source.
First, check for the official Wallet pass
Apple supports boarding passes and tickets in Wallet when the issuer provides a supported Wallet handoff, usually an Add to Apple Wallet action. The issuer controls that handoff. If the button is missing, this ticket flow may not currently offer an issuer-created pass, so check the airline's support before using a fallback.
Open the issuer's source
Check the airline or booking app, the confirmation email, and the mobile website after check-in
Look for the Wallet action
Use the documented Add to Apple Wallet button when the issuer offers one
No button means a different path
Apple recommends asking the company whether Wallet passes are supported for that purchase
Keep the source ticket
The airline app, PDF, or image remains the reference if the itinerary changes
If the button is present, use that issuer-provided action. If it is not present, this ticket flow may not currently offer an issuer-created pass, so check the issuer's support before using a fallback.
When the official option is missing
NeatPass can create a Wallet pass from a boarding-pass PDF, a ticket image, a photo, or another supported source with a readable barcode. NeatPass processes the import on the iPhone, keeps the original document alongside the pass, and sends the pass to Wallet after you review it.
The NeatPass import methods guide lists the available sources. Check the NeatPass supported barcodes before relying on a particular ticket.
Create a flight-ticket pass
NeatPass makes it easy to convert any ticket, pass, or loyalty card to Apple Wallet.
How to save the ticket
Use the newest ticket version, especially after check-in or a rebooking. These steps create a convenience copy while leaving the issuer's record in charge.
Open the latest ticket
Choose an import method
Review the detected details
Add the pass to Apple Wallet
Verify your backup
Keep the airline source for live changes
Make the right flight easy to find
Give the pass a clear name and keep related documents together in the NeatPass pass library.
Frequently asked questions
The right flight ticket path
Check the issuer first. A native pass is the right choice when the airline provides it; a local pass created by NeatPass is a practical second path for a clear static barcode in a PDF or image.
For broader context, read the guide to boarding passes in Apple Wallet and the guide to boarding-pass PDFs.
Save a ticket to Wallet
Download