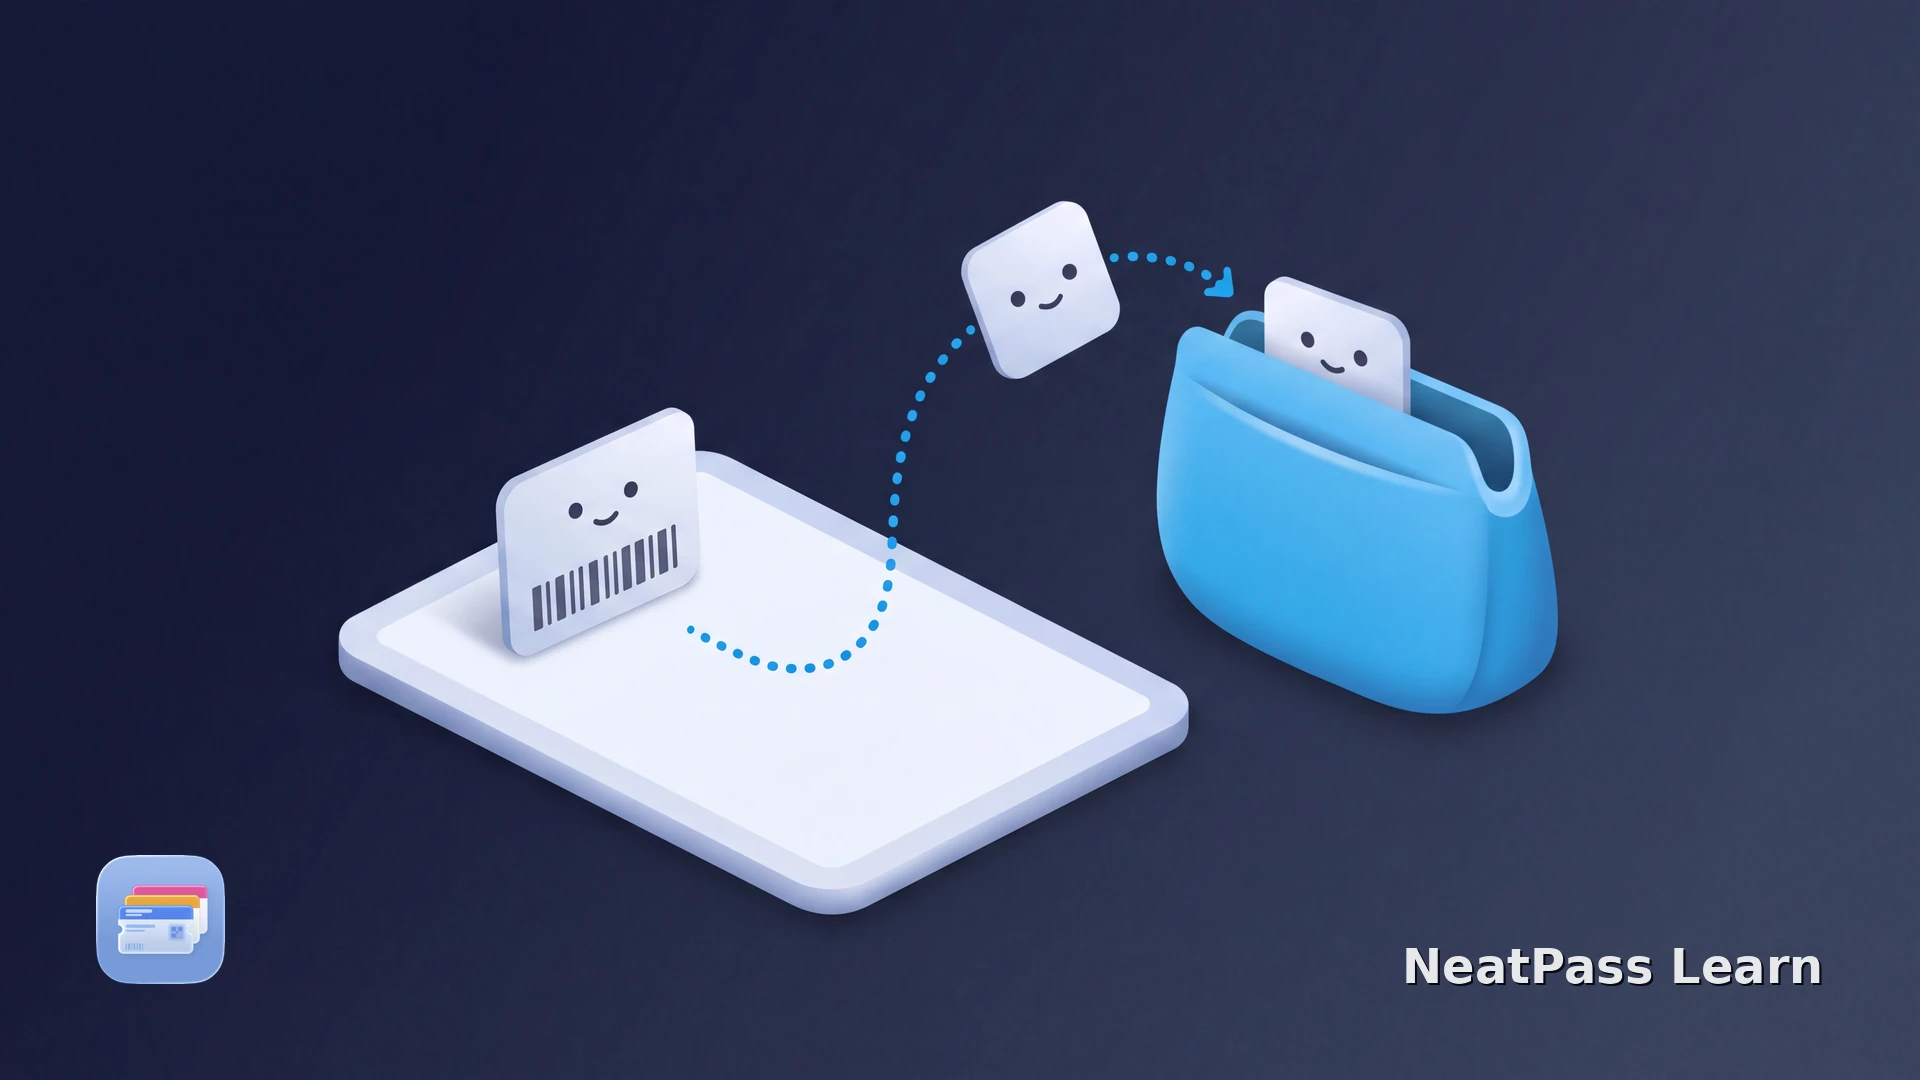
Apple Wallet on iPad is easy to misunderstand. An iPad has Wallet & Apple Pay settings and can add eligible payment cards for Apple Pay, but that does not make it the same pass destination as an iPhone. Apple Pay features vary by region and participating issuers.
For boarding passes, event tickets, loyalty cards, and other barcode passes, the reliable setup is an eligible iPhone. A paired Apple Watch can use supported passes from that iPhone, while an iPad is usually the place to read the email, document, or issuer app that contains the source.
What Apple Wallet on iPad actually means
On iPad, Wallet & Apple Pay settings and iCloud behave differently from the iPhone pass workflow. Keep these four pieces separate:
Payment cards and settings
iPad can add eligible credit or debit cards for Apple Pay and offers Wallet & Apple Pay settings for payment options. Apple Pay features vary by region and participating issuers. This is different from a barcode pass in the iPhone Wallet app.
Passes live on iPhone
Tickets, boarding passes, and loyalty cards follow the iPhone pass workflow. The iPhone is the device to prepare for scanning.
Apple Watch can be paired
When an issuer pass supports it, the paired Apple Watch can present a pass from the iPhone. That is a different path from placing the pass on an iPad.
iPad remains useful
Use an iPad to open a PDF, email, or issuer app, then move the source to an eligible iPhone through the issuer's supported flow or a file-sharing method.
iCloud is not an iPad pass library
The official way to add a pass
The issuer controls whether a pass can be added to Apple Wallet. When a website, email, or app offers an Add to Apple Wallet button, follow that issuer flow on an iPhone and complete Apple's save step.
For the NeatPass handoff, see its guide to adding a pass to Apple Wallet explains the final confirmation. If an issuer only provides a PDF or image, keep using that source on the iPad until an eligible iPhone is available.
Keep the issuer's official app available for anything that depends on an account, changing ticket status, live offers, or a rotating barcode. A pass in Wallet is useful for presenting the credential, but it does not copy every feature of the source app.
What to do with an iPad-only setup
If an iPad is your only Apple device, use the issuer's document or app flow at the venue. Open the PDF, email, or account page there and follow the issuer's instructions. Do not turn a changing code into a screenshot and assume that it will keep working.
If you can use an iPhone later, transfer the original source rather than a compressed screenshot when possible. On that iPhone, NeatPass can import a supported static barcode into a Wallet pass while keeping the source document alongside it.
Use NeatPass on an eligible iPhone
Use NeatPass when an iPhone is available
NeatPass creates a clean Wallet pass on an eligible iPhone from a physical card, photo, PDF, screenshot, or another supported source. Use it when the source contains a supported static barcode; keep the issuer app for dynamic or account-bound barcodes.
Check the app's supported NeatPass barcode formats. The resulting pass keeps the barcode data from the source.
Prepare a Wallet pass on an eligible iPhone
NeatPass makes it easy to convert any ticket, pass, or loyalty card to Apple Wallet.
A practical iPad to iPhone workflow
This sequence keeps the iPad as a source device and the iPhone as the Wallet device:
Open the original source on iPad
Move the source to iPhone
Import and review the barcode
Add and test the pass
After creation, keep the original source with the NeatPass original-document guide.
Know the boundaries
A Wallet pass is a focused credential, not a second copy of the issuer's whole app. These limits matter when the source started on an iPad:
Static data can work offline
A saved static barcode can be presented without a live connection after creation.
Dynamic codes stay with the issuer
Rotating barcodes, account checks, payment flows, and live ticket status need the official app or website.
Frequently asked questions
Keep the pass on the device that can scan it
DownloadiPad for the source, iPhone for the pass
An iPad can be a useful place to open and store the original document, but Apple Wallet passes for tickets, boarding passes, and loyalty cards belong in the iPhone-centered pass workflow. A paired Apple Watch can extend that access when the issuer supports it.
When an eligible iPhone is available, NeatPass can turn a supported static barcode into a standard Wallet pass. Keep the original source and the issuer's app for anything dynamic or account-bound.