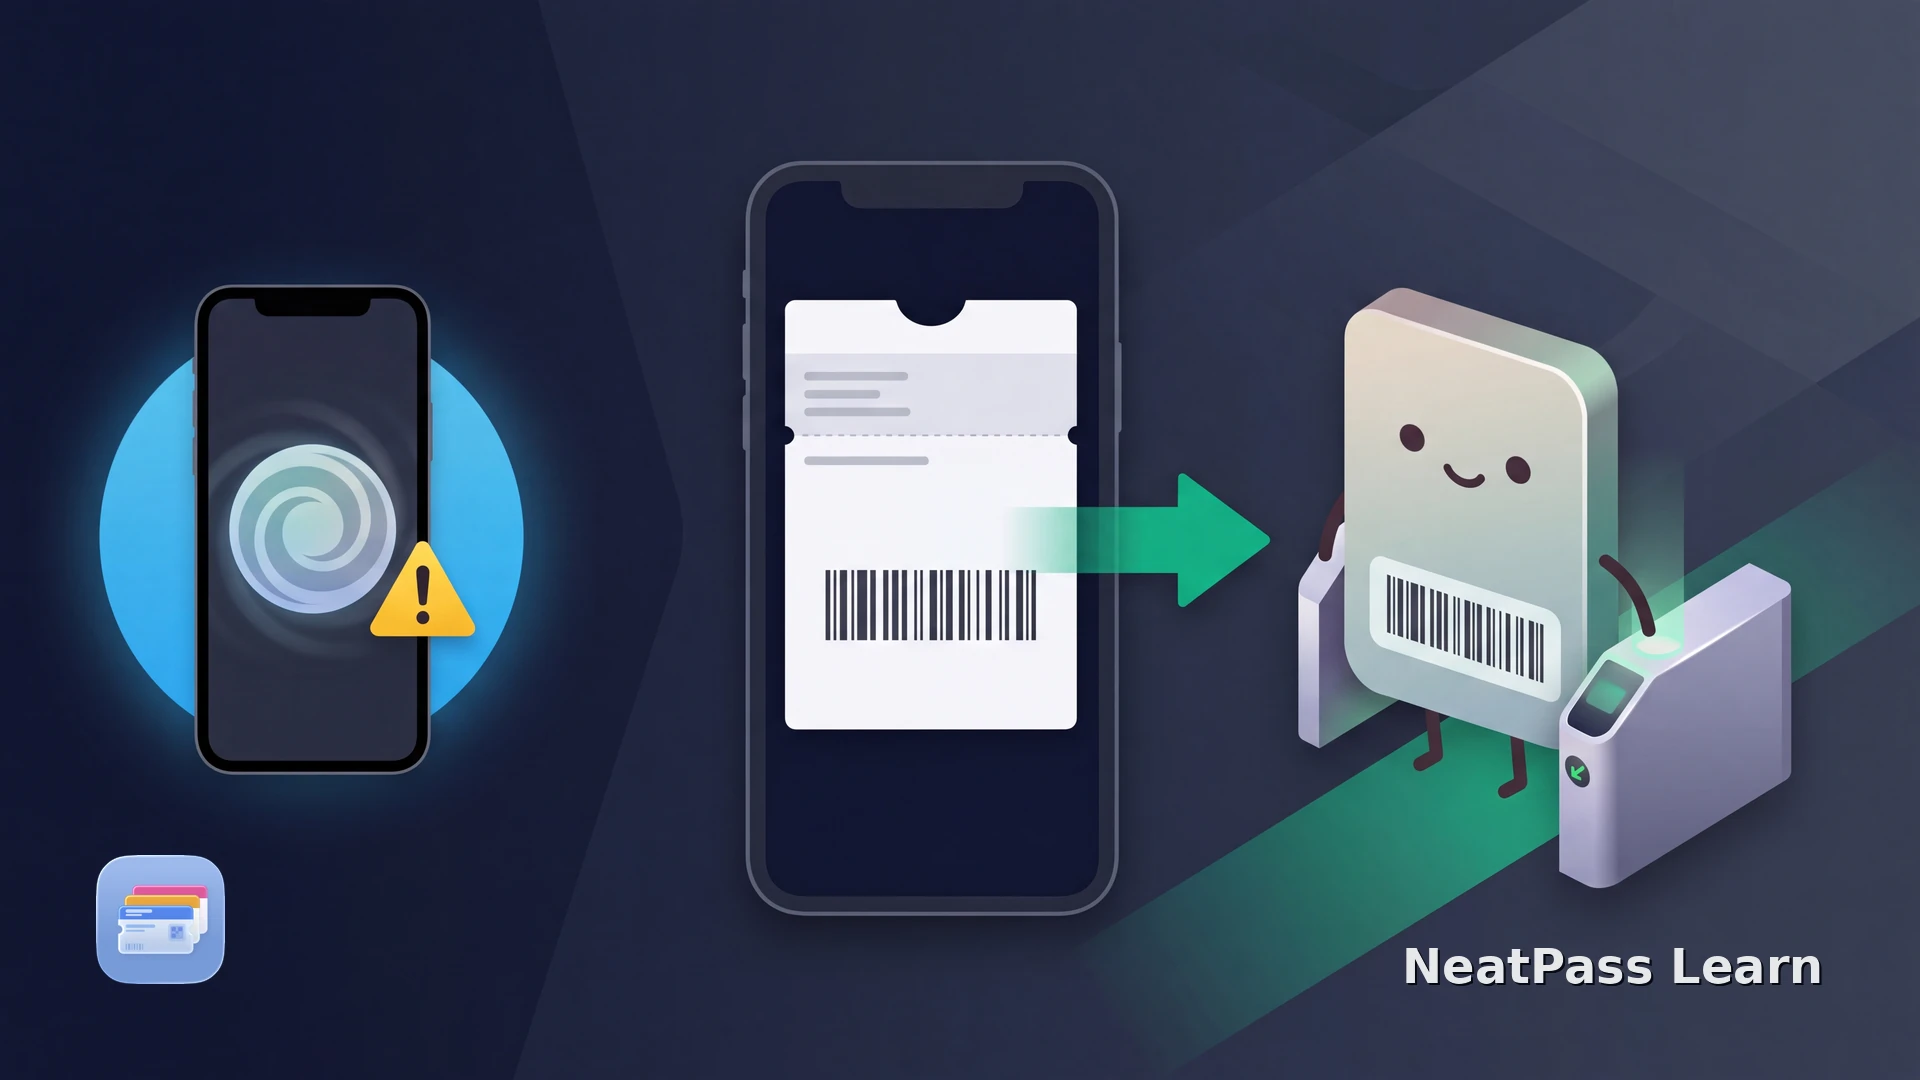
An event ticket saved in Photos can be awkward to find among your screenshots. Adding it to Apple Wallet keeps the barcode alongside your other passes, ready when you reach the entrance.
If the ticket provider offers Add to Apple Wallet, use that option. For a ticket saved as an image, NeatPass can read the barcode from the screenshot and turn it into a Wallet pass.
What NeatPass adds to your ticket screenshot
NeatPass turns the ticket image into a pass built for Wallet. It reads the supported barcode and ticket details, then lets you review the result before adding it. You can keep the event name, date and seat information together instead of zooming into a screenshot to find each detail.
For example, two tickets to the same show are easier to distinguish when each pass includes its seat or ticket holder in the title. Check that information against the original, then choose a recognizable pass design. The purpose is to make the ticket you already have easier to find and present.
Choose the right ticket image
Use a clear screenshot with the entire barcode visible, including the space around its edges. A PDF or email attachment also works as a source. The supported barcode guide explains which formats NeatPass can read.
Check whether screenshots are accepted
Add your ticket screenshot to Wallet
Import the screenshot
Review the ticket
Add to Apple Wallet
The import methods guide covers the available sources. See the Share Extension guide for importing from another app and adding to Wallet for the final step.
Keep the ticket ready at the entrance
The Wallet pass preserves the barcode data from your screenshot. Once added, you can display it offline without searching Photos or loading an email. Keep the original ticket for booking changes or any details the venue asks to see.
NeatPass keeps the imported document alongside the pass; use View Original to open it. Screenshot processing happens on your iPhone. The privacy FAQ explains how the app handles your data.
If NeatPass cannot read the ticket image
Start with the original image at full resolution. A cropped barcode, a chat-app preview or a photo with glare may leave too little detail to import. If you received a PDF, share that file directly with NeatPass instead of taking another screenshot of it.
When the image contains several codes, identify the one labelled for entry and review the detected result. A booking reference, advertising QR code and admission barcode can appear on the same page. If the pass looks incomplete, return to the source and correct the event details before adding it to Wallet.
Add your event ticket to Wallet
Import your ticket image, review the barcode, and keep the pass ready at the entrance.
Frequently asked questions
Your ticket, easy to find
Start with the provider’s official Wallet option when one is available. For an accepted ticket screenshot, NeatPass brings the barcode and useful event details into a pass you can recognize quickly. Import it before you leave, check the seat and date, and open it at the entrance.